Getting Started: Installing Garage Door Openers
Garage door opener installation greatly enhances a home’s convenience, security, and overall utility. An automated system makes the operation of your garage door effortless, enabling you to control it from almost anywhere, using an included wall button, a dedicated smartphone app, or a traditional remote.
It’s important to remember that there’s more to installing a garage door opener than simply mounting it to your garage ceiling. If installed improperly, a garage door opener can cause more hassle than good. A garage door opener should be the perfect complement to your garage door system. With proper planning and consideration, it’s possible to ensure all safety devices are properly installed and the entire garage door system is ready to operate safely.
What Is Garage Door Opener Installation?
The simple definition of installing an automatic operating system to your existing garage door system is garage door opener installation. An automatic garage door opener uses an electric motor along with a moving operating mechanism to open and close your garage door. Some operating systems utilize a chain, belt, or screw-based drive mechanism, and others will rely on more advanced operating systems.
An Intro to Garage Door Openers
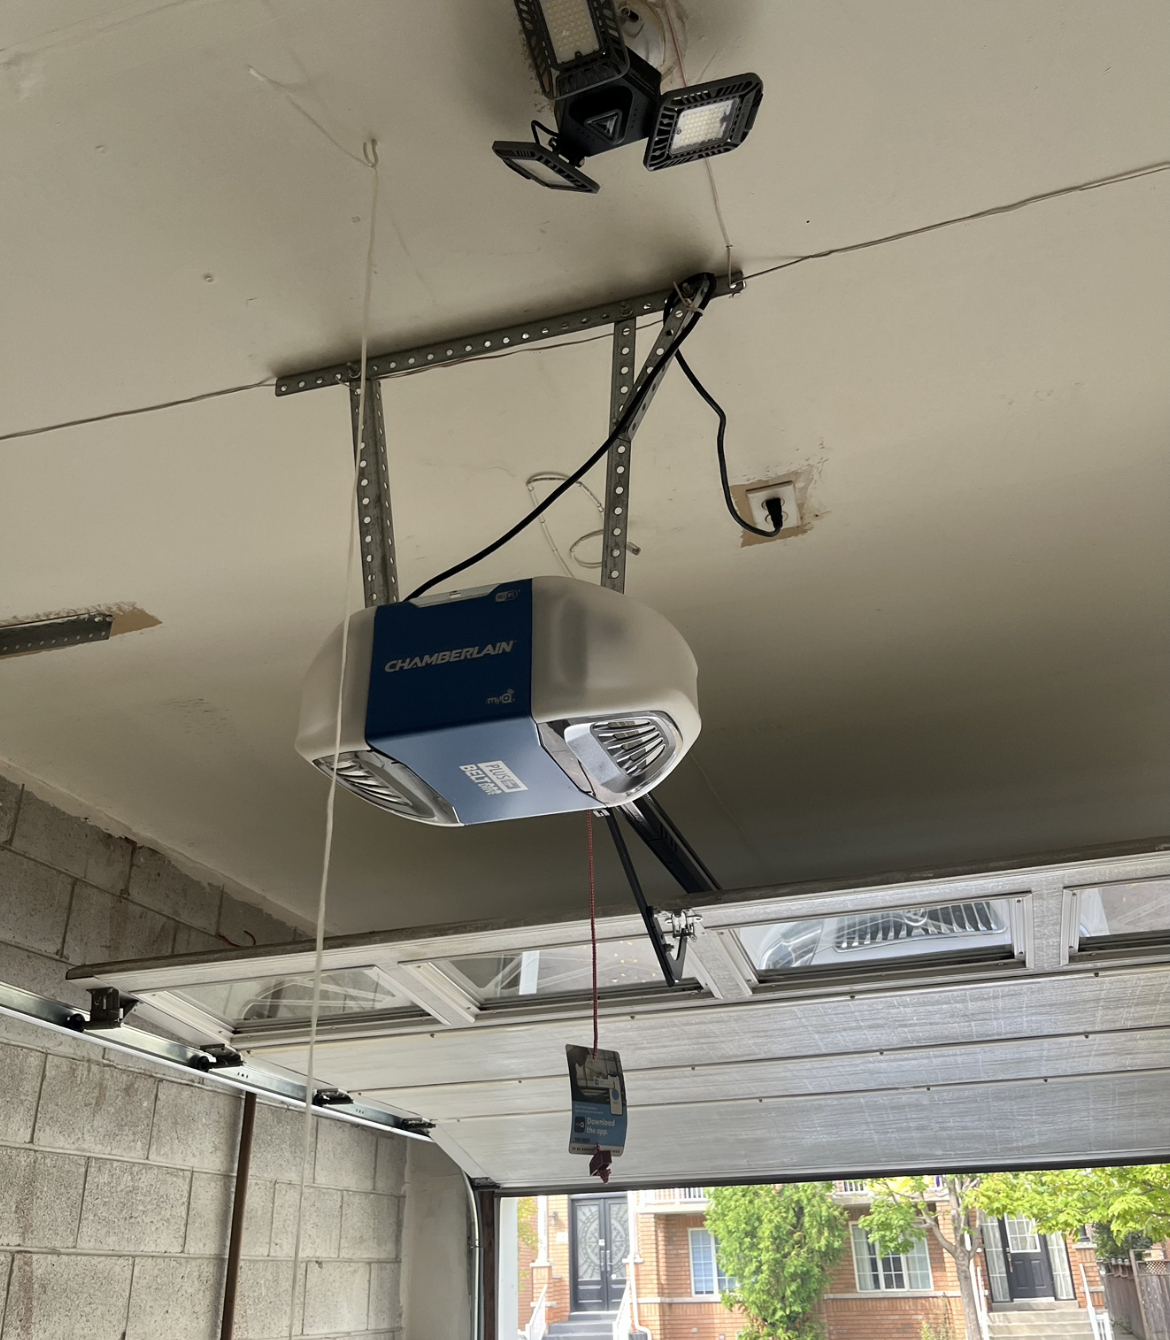
There’s an electrically operated control device known as a garage door opener designed to manage the motion of garage doors. For the majority of garage door systems, it is mounted at a position above the door. A trolley and rail mechanism connect the opener to the door. More modern versions utilize wall-mounted technology, smart technology, and even smartphone technology.
Different designs and sizes are available for garage door openers. Factors such as the construction of the door, door weight, the garage door size, and the door space are important to ensure a garage door opener will work. For consistent and reliable operation, you’ll need a garage door opener designed to work with your garage door system.
The Mechanics of an Automatic Garage Door Opener
An automatic garage door opener relies on the presence of an electric motor. Signals received from either the wall or the remote trigger the opener to start the motor. The motor runs along the rails to move the trolley and with the arm to pull or push the door open or closed.
As the trolley moves, the door opens and closes. Sensors are positioned on the bottom of the door and can stop and/or reverse the operation of the garage door system if they detect that an object is in the path of the beam of the door’s sensors.
Garage Door Opener Installation Requirements
Garage door opener systems have various components. These components are the motor unit, the rail and trolley system, the door arm, the wall control, the remote controls, and the safety sensors that detect an obstruction and stop the door’s travel.
Other components used during the installation include the door opener unit mounting hardware and the safety reversing sensors mounting hardware. There are optional garage door opener system components that provide backup batteries, wireless keypads, exterior and interior lighting, and smart technology controls.
Differences Between Manual and Automatic Garage Doors
There are manual garage doors, which do require someone to operate them by lifting the garage door by hand. They do include manual springs and door movement hardware. While they can be relatively simple to use, some garage doors are difficult to open, and most are too heavy to lift.
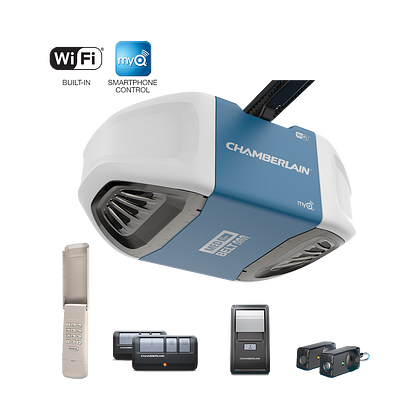
Automatic garage doors are a lot easier to operate, as there is an electric opener that handles the movement of the garage door. The doors are often controlled by a remote, a wall-mounted switch, or a smartphone if the door supports this technology. Automatic garage doors have the additional benefit of convenience and a high level of security. They also provide advanced features, but they do require electricity to operate and will need a periodic maintenance program.
Step-by-Step Garage Door Opener Installation Guide
There are steps to be followed beyond purchasing a garage door opener and bolting it to the ceiling. From setting up your work area to giving the system a final test run, it helps to understand what goes into the garage door opener installation process. As each garage door opener has unique requirements, make sure to read the opener’s manual that is provided.
- Garage Preparation
Garage door opener installation is easier with garage preparation. First, remove everything from your garage. Next, clean the garage and remove all unnecessary items. Make sure there is enough space in the garage for you to set up and assemble your new unit. Check the ceiling to make sure that it can hold the new unit.
Check the operation of your garage door. The door should be able to slide without too much force and should not move on its own once the door is released. Do not attempt to use power if the power supply cannot be safely disconnected. It is a good idea to contact a garage door specialist for a professional opinion if the door does not easily slide up or if the door moves after you take your hands off the door.
- Opener Rail Assembly
Rail pieces have to be assembled. Usually, these come pre-packed with connectors and screws.
Ensure that the rail pieces are perfectly aligned. This is of critical importance because misalignment results in the trolley having an inconsistent movement and thus an operation of the opener that is equally inconsistent. As much as you might want to adjust the rail piece, the manufacturer’s suggestions on rail assembly should be followed as far as is possible.
- Additionally, connect rail to motor unit.
The last piece of rail construction is connecting it to the motor unit. It’s the motor unit that drives the door along the rail, and connecting these parts will ensure the rail system
The brackets, bolts, and hardware used should be tightened, ensuring a firm rail and unit assembly.
Additionally, installation of mounting brackets.
Mounting brackets come in support of the garage door opener. The rail’s front is usually supported by one bracket above the door. Other brackets support the opener unit on the ceiling.
- Opener Installation to Ceiling
After bracket installation, opener positioning and fixation to the ceiling is required. At the same height and angle, the motor unit should be supported from above so that it does not swing or hang loosely.
- Connecting Garage Door Arm
The arm is the part that transfers movement from the trolley to the garage door and controls door movement from system operations (open and close).
- Installing Safety Reversing Sensors
Safety sensors are vital parts for all garage door openers and typically mount at the bottom of the track of the door with an opposite-facing beam for beam interruption. If an obstruction breaks this beam, the garage door stops.
- Installing the Accessories
This part of the process involves installing control panel(s), which typically come with a new garage door opener. They control opening and closing the door and are usually installed near the garage door on the inside, away from young kids but easy enough for most people to reach.
- Configuring the Limits and Forces
Travel Limits dictate how much a garage door will travel. Similarly, force settings determine the amount of pressure the motor puts on the garage door. The manufacturer should always be consulted for these settings, as failure to set these can cause damage to the motor.
- Verify Functionality
Now, the power supply must be connected to ensure all components of the garage door opener work correctly. For this test, you must operate the door from both the remote control and the wall-mounted unit. Make sure the garage door opens and closes in a fluid motion without any strange or unusual noises.